What is the Vacuum casting process? Step-by-Step Explanation
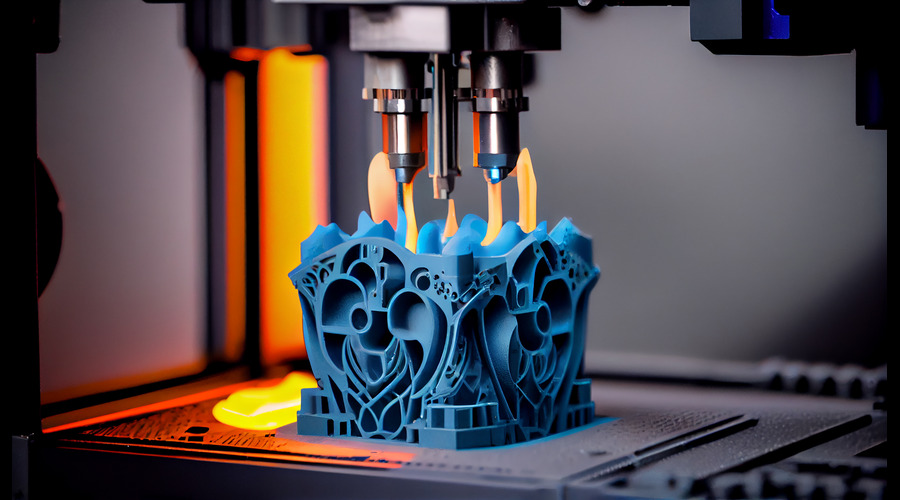
When you need prototypes or low-volume parts with a good surface finish, vacuum casting is a great choice. People also know this process as silicone molding or urethane casting. It creates accurate copies of a master pattern.
Vacuum casting uses a silicone mold and casting resins. The vacuum helps reduce air bubbles and defects.
This is extremely helpful for product teams. They need parts for fit checks, functional tests, customer demos, and quick alternatives to injection-molded parts. It also helps with fast pre-series validation.
What is the Vacuum casting process?
The vacuum casting process is a way to make products. In this method, someone pours liquid resin, usually polyurethane or urethane, into a silicone mold. They then cure the mold under vacuum or with vacuum support while filling. This helps reduce trapped air and creates smooth, bubble-free parts.
Excel Rapidtech explains vacuum casting and silicone molding. This process uses a silicone mold to create parts from polymer or rubber-like materials. People mainly use it for prototyping or low-volume production.
Where is the vacuum casting process used?
You’ll often choose the vacuum casting process for:
- pre-production prototypes that must look close to injection-molded parts
- short-run batches for testing, pilot launches, and internal sampling
- complex shapes and undercuts that benefit from flexible silicone molds
- parts needing a good cosmetic finish (paint-ready, presentation-ready)
- For functional testing
- Faster alternative for getting to market
Step-by-step: How the Vacuum casting process works
Step 1: Start with CAD and define requirements
Everything begins with a 3D CAD model. Before you cast, define:
- Purpose (visual demo vs functional test vs pilot batch)
- Target material feel (rigid, rubber-like, clear, etc.)
- Finish level (raw, matte, paint-ready, glossy)
- Critical dimensions/tolerances
This clarity prevents over-engineering (and extra cost).
Step 2: Create the master pattern (the “original”)
The master pattern is the reference part that every casting will replicate. People commonly make it using SLA 3D printing for high detail and smooth surfaces.
Tip: Since the mold copies every detail, a cleaner master = better-looking cast parts.
Step 3: Build the mold box and plan parting/gating
The master is placed inside a mold box. Engineers plan:
- parting line (where the silicone mold will be split open)
- gates (resin entry path)
- vents (air escape route)
This planning impacts fill quality, air entrapment, and surface finish.
Step 4: Pour silicone around the master to form the mold
Liquid silicone rubber is poured around the master and allowed to cure. They carefully control the mold-making process so silicone captures fine details cleanly.
Once you cure the silicone block, you cut it open, remove the master, and you are left with a negative cavity of the part.
Step 5: Prepare resin and color/material selection
Next, the casting resin is chosen based on the use-case. Common options simulate:
- Rigid plastic-like parts
- Rubber-like flexibility
- Impact/toughness
- Sometimes transparent/clear aesthetics
Step 6: Degas the resin (remove micro-bubbles)
Before pouring, the mixed resin is degassed to remove trapped air. This is a key quality step because it:
- Reduces surface pinholes
- Improves internal integrity
- Supports a smoother cosmetic finish
Step 7: Cast under vacuum (core stage)
This is the defining moment of the Vacuum casting process.
The silicone mold is put in a vacuum. This helps reduce trapped air. It allows the resin to fill details better.
Many people often mention the vacuum step as a reason why this method produces bubble-free, high-quality parts. This is better than just pouring openly.
Step 8: Cure the part (controlled solidification)
After filling, the resin cures and hardens. This happens under controlled heat or in an oven. The method depends on the type of resin and the properties you want.
Step 9: Demold and trim gates/vents
Once cured:
- The mold is opened
- The part is removed
- Gate and vent marks are trimmed
Because silicone is flexible, it can release complex geometries more easily than rigid tooling.
Step 10: Post-processing + inspection
Depending on your expectations, parts may go through:
- sanding/polishing
- priming/painting
- inserts/tapping (if needed)
- dimensional checks and fitment trials
This is where cast parts become “client-ready” or “pilot-ready.”
Benefits of the Vacuum casting process
Key advantages include:
- excellent cosmetic finish and detail replication
- suitable for complex geometries and pre-series parts
- cost-effective for prototypes and small batches (vs hard tooling)
- Good functional properties
Limitations to know
The Vacuum casting process is not always the best option if:
- You need exceptionally high volumes (injection molding usually wins).
- You need extreme long-term durability identical to production plastics
- Your part requires ultra-tight tolerances across a large batch (process selection matters)
A silicone mold has a limited life, so designers create it for short runs.
Why choose Excel Rapidtech for the Vacuum casting process
If you need a dependable partner for vacuum casting, Excel Rapidtech is here to help. We use silicone molds for prototyping and low-volume production. Our process creates polymer and rubber-like parts.
You also gain from a wider, rapid manufacturing system. This is useful when a project needs several processes, like 3D printing, casting, and finishing. Excel Rapidtech lists multiple rapid manufacturing services under one roof, including vacuum casting.
For coordination and dispatch, our contact page lists their New Delhi (Okhla Industrial Area) address and phone/email details.
FAQ
Q – Is the Vacuum casting process the same as silicone molding?
Ans – In many service situations, people often call vacuum casting, silicone molding, or urethane casting. It uses silicone molds and resin under vacuum to create high-quality parts.
Q – How many parts can you make with the Vacuum casting process?
Ans – People typically use it for short runs (prototype to small batches). The exact number depends on mold size, geometry, and resin choice. Usually 10 – 500 pieces of each part.
Q – What’s the best use-case for the Vacuum casting process?
Ans – Pre-series parts need to look like they are ready for production. They should achieve a good finish, especially when they do not yet need injection molding tools.
Final takeaway
The vacuum casting process connects prototyping and mass production. It quickly creates realistic, high-quality parts using silicone molds and resin casting under vacuum. If you’re building samples for validation, demos, or a short pilot batch, it’s often one of the most practical manufacturing choices.
Recent Insights
-
What is the Vacuum casting process? Step-by-Step Explanation January 28, 2026
-
End-to-End 3D Printing Services for Engineers and Manufacturers February 17, 2026
-
Which 3D Printing Technology Should You Choose? A Guide for Engineers February 20, 2026
-
3D Printing Services in India: Complete Guide to Technologies, Materials and Applications July 14, 2026
-
3D Printing Services in India: SLA vs SLS vs MJF vs DLP July 14, 2026
-
3D Printing Services in India: Cost, Lead Time and RFQ Checklist July 14, 2026
-
In-House 3D Printing vs a Professional 3D Printing Service: Which Is Better? July 29, 2026